I've never had formal training in Dressmaking. My Mum and Nan both taught me the basic techniques and I remember making a knitting bag in the first year of secondary school, with a cat appliqué on the front that EVERYONE said it looked more like a squirrel :-/ I also made a very useful and highly decorative tray liner in primary school. But that's it. Nothing more! However, this is exactly what I enjoy about sewing. For me, it is a process of problem solving. Much like how other people enjoy completing a crossword, I could quite easily spend a relaxing afternoon deciphering a pre-war pattern. How do the pieces fit together, what is the sequence?
This is my process, it works for me!...
Step one - Carefully open the packet!
I always feel extra excited when the pattern I am using it still 'factory folded' and unused. This poor little pattern had been all but forgotten since the early 1950's when it was printed. It is a boy's 'Buster Suit' in three different options. Buster Suit where named after a 1920's comic strip character 'Buster Brown', who wore high necked military blouse that buttoned to shorts or 'knickers'.
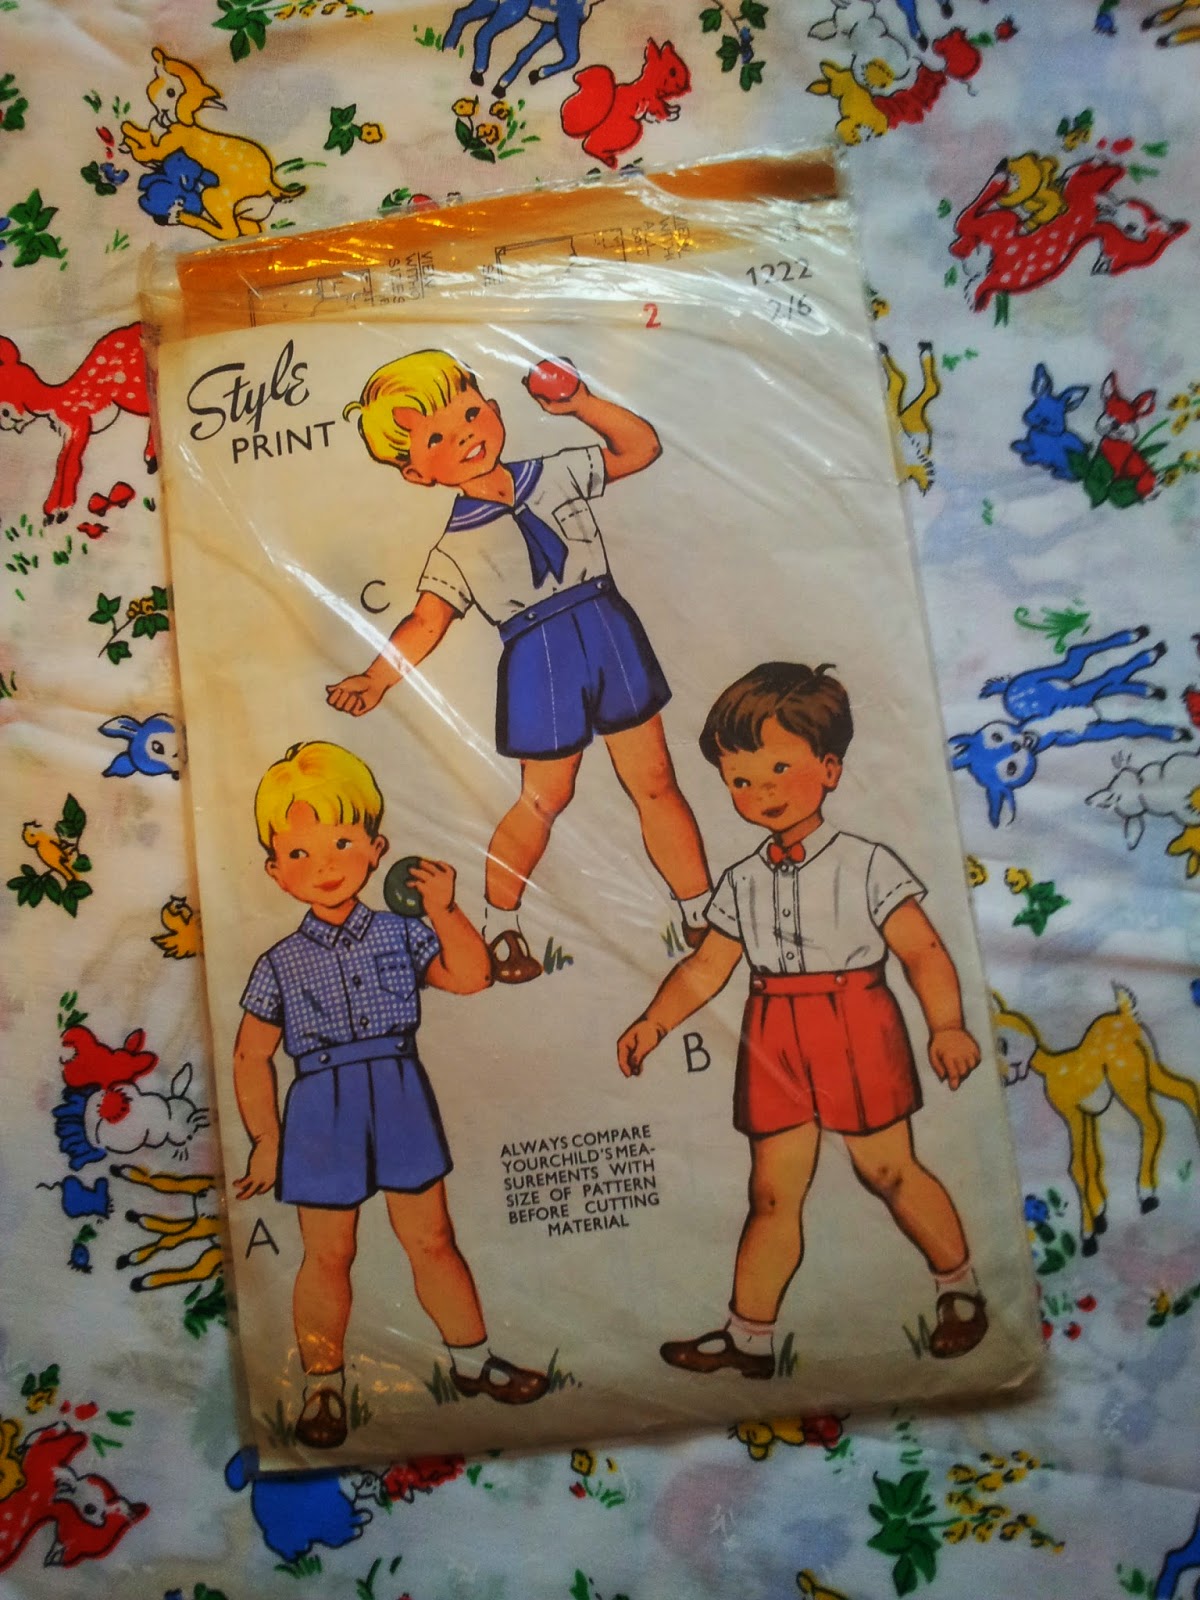
I've decided to go for the sailor suit version C. I have a thing for sailor suits at the moment! Originally popular during the reign of Queen Victoria, they were worn for play and often made from tough cotton twill. Nowadays they seem to be reserved for special occasions, such as christenings and are very often worn by babies. That's a shame. These suits are very comfortable to play in. There's no tight or restricting waistband, the loose cotton shirt is cool and comfortable.
Step two - iron the pattern pieces
Yep, iron the pattern pieces. I've learnt this the hard way. After decades scrunched at the back of a drawer or cupboard, vintage patterns can become distorted. You would be amazed how much a pattern can change shape after a good pressing. Especially if the pattern has folded like a concertina.
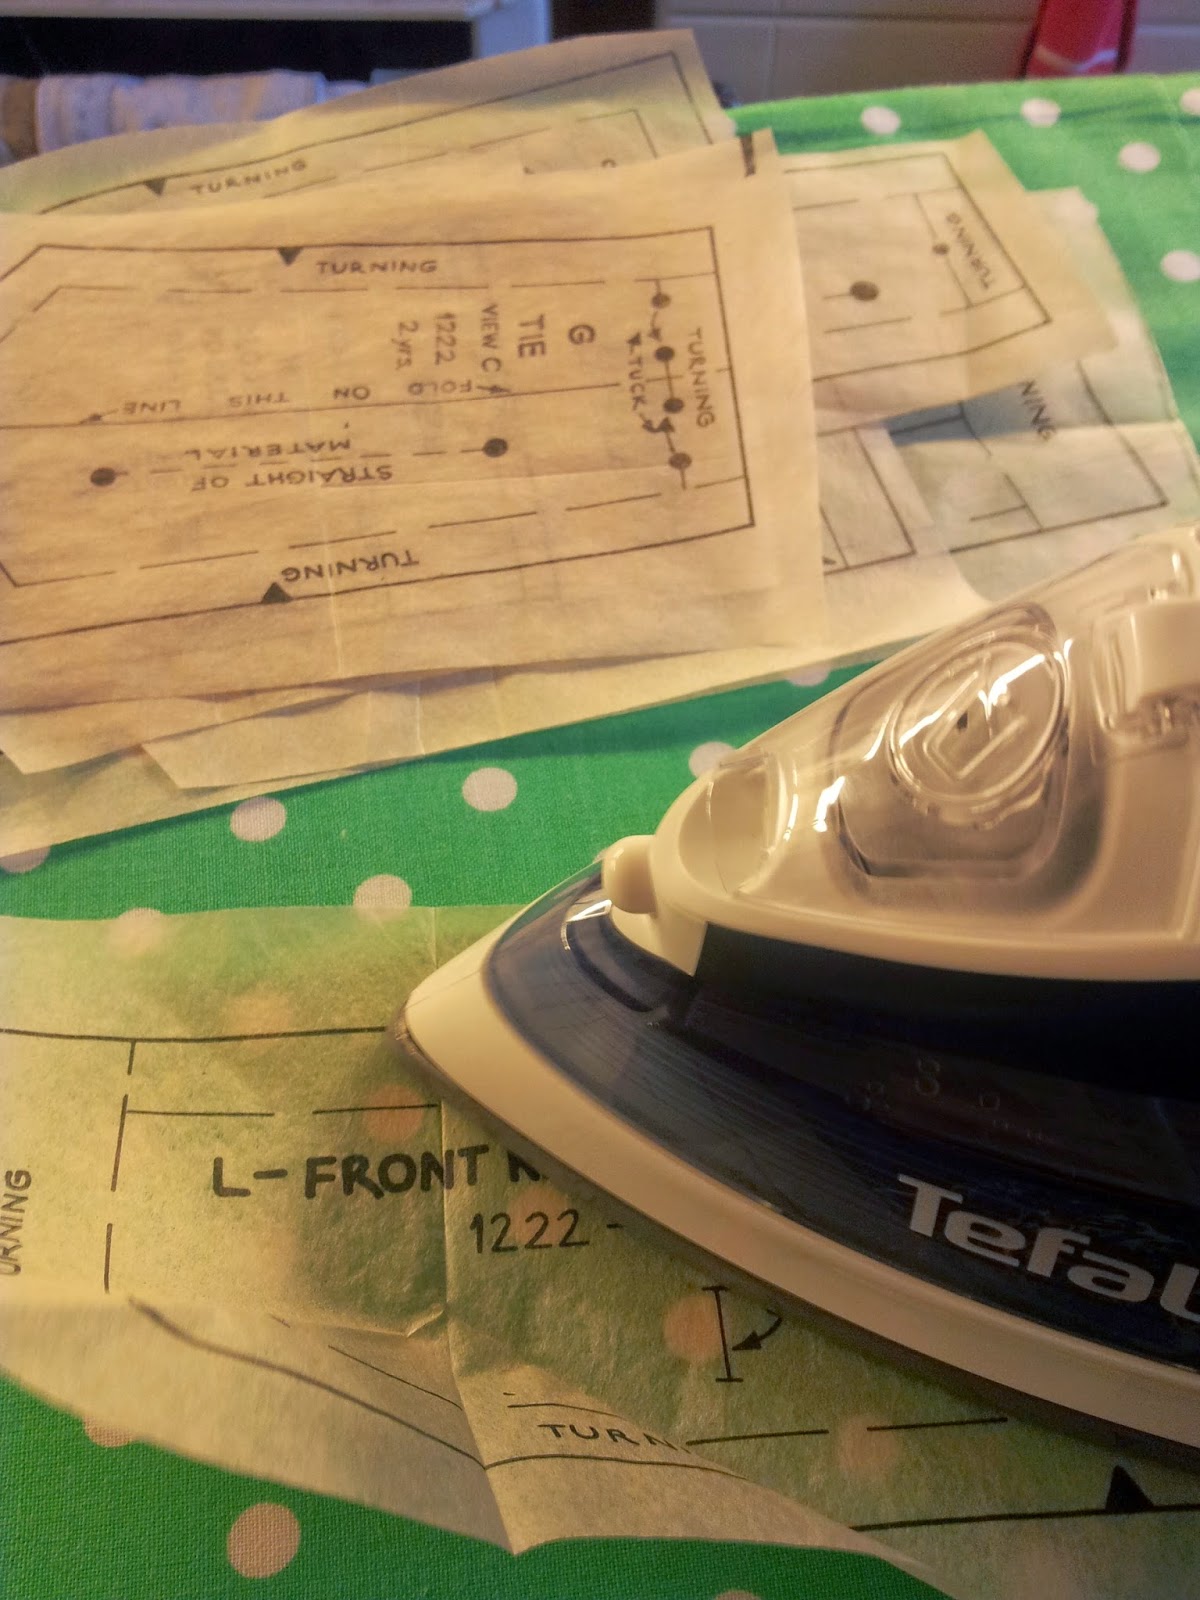 |
| Remember, no steam! |
Step Three
... while your iron is on you might as well press your fabric! I like to pre-shrink my fabric, especially if I am using 100% cottons. I know this seems like a waste of time, as the fabric is crisps and pristine from the shop but I know from bitter experience how fabrics can shrink, warp and pucker after their first wash, after you have spent weeks constructing the item!
Step Four
Lay out your pattern pieces as per the instructions. Well, as long as you have the grain line in running in the right direction and put the right pieces on the folded edge, you can have a little play here. I don't pin until everything in laid out in draft. Then pray that no one opens a window ...!

 |
| Weights can be really useful - this bean tortoise doubles up as a pin cushion! |
Step Five
Pin in place. I also like to measure the grain line marking on the pattern to see if it’s in line with with edge of the fabric. Not so important on small shorts but a misaligned line could cause a trouser leg to twist or a pattern to wander off course.

 |
| I love this ruler, I still can't memorise them all though! |
Step Six
‘Measure twice, cut once!’ is my mantra! I was taught that by my old woodwork teacher. This is especially so when using expensive or rare hard to find vintage fabric. Cut it wrong and you’ll be making a patchwork quilt. When I cut my pattern pieces, I always cut the notched outwards. I'm not sure if you are meant to do this but by cutting inwards, you risk cutting into the main body of the fabric and causing unsightly nicks. Or worse, areas of weakness that could fray and tear - not ideal in children’s clothing.
 |
| I don't want to cut this pattern so I still have the option of making up the other version. I used a pattern wheel to mark the fabric without altering the fabric. |

Step Seven
Tailor tacks! I love tailor tacks and can’t understand why people will skip this part. I know you can use chalk but I find this either rubs off or becomes an undefined smudge or never, EVER rubs off. Disappearing ink in great - providing you are sewing within the next nanosecond and not working under any sort of lighting! Call me old fashioned but I jump at the chance of any hand sewing.

Step Eight
Unless under a strict deadline - and sewing is never fun under pressure - I leave it there. Yep, no more tonight! I have to be strict about this. I would love to keep going, but then time becomes an issue as well as tiredness. And then corners are cut (literally sometimes oops!), mistakes are made. Best to leave it there and be bright eyed and bushy tailed for work tomorrow morning. This has taken me an hour, which has been a great de-stress from the day! I’ll keep the instructions out as now I have cut the pieces, I can have a better idea in my mind how to construct the piece.  |
| Bedtime reading! |


